
How to apply wall putty, step by step
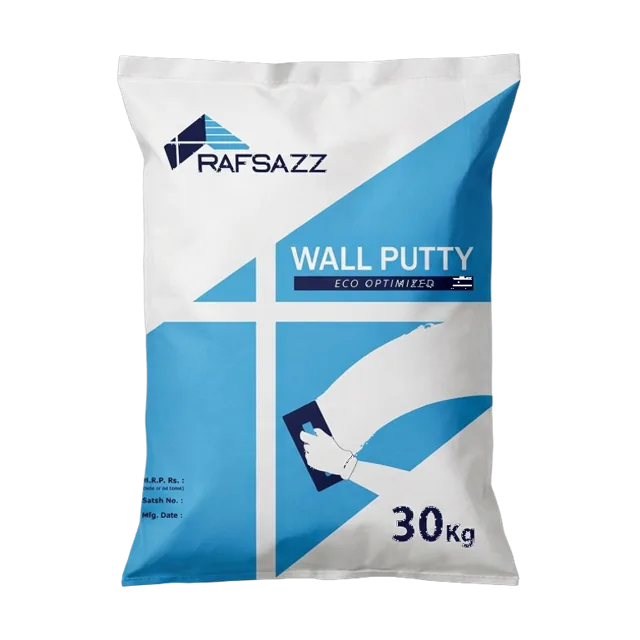
Wall putty is what gives a wall its smooth, hard, bright-white base before paint — and a good putty job makes cheaper paint look expensive, while a poor one shows through the most expensive paint. This is the method our applicators follow for a clean, durable finish with RAFSAZZ Wall Putty.
What you need
- RAFSAZZ Wall Putty (white cement-based) — or Wall Putty ECO for value projects
- Clean water
- A drill with a mixing paddle, or a clean bucket and strong stirrer
- A putty trowel / blade and a wider finishing blade
- Sandpaper (around 180–320 grit) and a sanding block
- Primer and your topcoat paint
Step 1 — Prepare the surface
Putty only sticks as well as the surface under it. The plaster should be fully cured, sound and clean. Remove dust, loose particles, grease and any flaking old paint. Fill large hollows and cracks first and let them set. The surface should be slightly damp, not wet — dampening a thirsty wall stops it pulling water out of the putty too fast, which is what causes cracking.
Step 2 — Mix to the right consistency
Add the putty powder to water (not water to powder) and mix to a smooth, lump-free paste about the consistency of soft butter. Mix only what you can use in roughly 20–30 minutes, because cement-based putty starts to set in the bucket. Let it stand for a couple of minutes, then re-stir before use.
Step 3 — Apply the first coat
Load the blade and apply a thin, even first coat, working bottom to top and finishing with upward strokes. Keep the coat thin — putty is a finishing skim, not a plaster. The first coat fills the fine texture of the plaster and gives the second coat a key. Let it dry as directed, usually a few hours, until uniformly hard.
Step 4 — Light sand, then the second coat
Lightly sand the first coat to knock off any ridges and dust it down. Apply the second thin coat, again finishing with smooth upward strokes to level the surface. Two thin coats give a far better, more durable finish than one thick coat — a thick coat traps water, dries unevenly and is the usual reason putty cracks or debonds.
Step 5 — Final sand and paint
Once the second coat is fully dry, give it a final light sand for a glass-smooth surface and wipe off the dust. Let the putty cure as recommended, then apply a primer followed by your topcoat. The result is a hard, white, sealed base that lifts the colour and sheen of the paint and helps it last.
Common mistakes to avoid
- Applying too thick. One heavy coat cracks; two thin coats last. This is the number-one cause of putty failure.
- Mixing too much at once. Cement-based putty sets in the bucket — mix in batches.
- Skipping surface prep. Putty over dust, grease or loose paint will peel, however good the putty is.
- Working on a bone-dry, thirsty wall. Dampen it lightly first so it doesn't pull water out of the putty.
How much wall putty will the job take?
Putty quantity depends on the wall area and how many coats you apply. Rather than guess, enter your wall area into the RAFSAZZ Coverage Calculator — choose Wall Putty (or Wall Putty ECO), enter the area, and it estimates the kilograms and number of bags with wastage included. For an exact figure on a specific surface, check the product datasheet or ask our team.
Frequently asked questions
How many coats of wall putty should I apply?
Do I need primer before or after wall putty?
Can wall putty be applied on a fresh plaster wall?
What is the difference between Wall Putty and Wall Putty ECO?
The RAFSAZZ products mentioned above
More guides
How much tile adhesive do I need?
Buy too little and the job stops halfway; buy too much and money sits on the shelf. This guide shows you how to estimate tile adhesive accurately — by…
Read guide →5 min readChoosing productsC1TE vs C2TE: which tile adhesive for which tile?
Walk into the adhesive aisle and you will see codes like C1TE and C2TE. They are not marketing — they are the EN 12004 European classification that te…
Read guide →4 min read